
This project has been sitting in my basement for a year. It's a solid oak table that once had glass inserts with a metal grid pattern but my wonderful son dropped something on it and cracked one of the glass pieces. Oh well. I know stuff happens but I thought this would be a good opportunity to make it a little more indestructible and decided to tile it.

To begin I added some plywood to the underside of the table so I'd have something to set the tile on. I used nails and construction glue so it should be pretty sturdy. I couldn't find a tile thick enough to come up to the top of the table so I used some left over floor tile to make the final top high enough. It kind of works but I can see this is starting to be an epic fail because the table is getting heavy. Epic fail?!! I'm spending way too much time with my son. Since I started down this path I decided to keep with it and see if it would work. The table was in my family room which has black stained Billy bookcases from Ikea so I decided to stain it black. Painting might have been easier but I wanted to see the wood grain as you can with the bookcases. I found a water based stain called Minwax Color Express in Onyx and thought it would be easy to apply. Besides it was on sale which always gets my attention.


After I put on the first coat of stain I wondered if I was using this product right because it just turned the wood a little brown.

This is the table after two coats.

I told myself don't give up, keep going and give it another coat. I finally gave it four coats of the black stain to get the right color. It's jet black but you can still see the wood grain which is exactly what I wanted.

One tip: Prop the table up on bricks so that you can get better access to the feet. These were some leftover paver stones that I used for a mosaic project.

I know my son is going to give this tabletop a workout so I followed with three coats of water-based sealer to give it extra protection. Here is what the table looks like now.
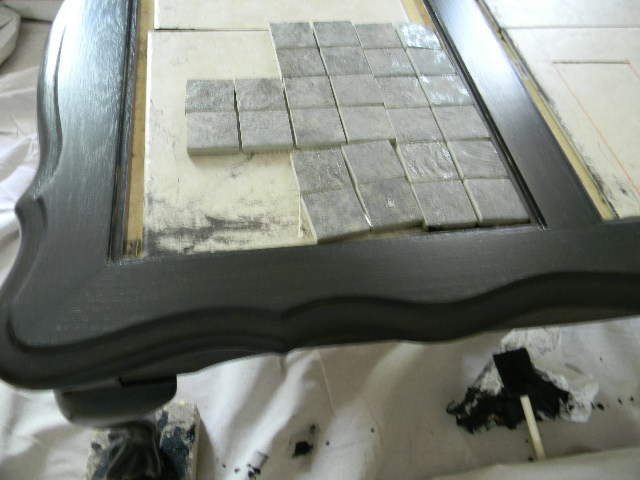
The next step is to tile the top. The gray 2x2 mosaic tile that you see in the picture is what I chose. It has some beautiful metallic streaks in it and I think it will be just gorgeous when I'm done but I'm keeping my fingers crossed. Stay tuned for the finished table.


0 comments:
Post a Comment