2

Saturday, December 29, 2012

Happy Holidays

This has been a tough year. If you decide to blog I have to tell you that it is far from as easy as it looks. So I lost the battle of staying with it through the end of the year, but I have not given up the war. I said all that to say, I'm back and raring to go. 

Hope you had a great Holiday Season. Looking forward to welcoming in 2013.


Monday, October 15, 2012

Nightstand Redo Completed

Last week I started re-doing a couple of nightstands that I picked up at the Habitat Restore. I got them for my bedroom because what I had was way too small. I took a couple of old tables and replaced them, but they were too big. At the risk of sounding like Mama Bear, these were just right. One problem, they were badly damaged from cigarette marks. It was nothing that I knew a few coats of paint wouldn't fix. Here is the before picture...
and after....
Remember the damaged top..
and with a little paint....
The hardware was kind of scuzzy so I cleaned them up with a little tarnish remover. Here is the before...
 ....and after.
The one battle I had was deciding whether to keep or replace the hardware. My original thought was to replace them so before I primed I filled in all the holes with wood filler. As I was searching for new hardware I realized a few things. First, each nightstand had six handles so I would have to buy either 6 or 12 new handles which would cost as much as the stands them selves. Second, when I started looking at used, everything I looked at was similar to what was already there. Last, I have a bench and picture frame that are similar to the gold on the nightstand hardware so they already fit in well with the decor of the room. I wasn't planning on redoing my bedroom, just spiffing it up a bit. This means minimal cash. For all of these reasons I decided to stick with the original hardware for now.
Ultimately I want glass, acrylic or crystal handles. I want them at the right price so I am willing to wait.

On to the next project.

Monday, October 8, 2012

Old Furniture Gets a Facelift

The weather is getting colder in Chicago so it's about time I wrapped up some of my spray painting projects. Pretty soon it will be too cold to spray paint and since that is how I choose to redo my furniture most of the time I had better get a move on. I bought these nightstands at the Habitat Restore a few months ago. I liked them because they were solid wood, had a good size top and since they had three drawers each they would provide plenty of storage. 

One of them had a lot of cigarette burns on the top. I knew it was repairable so I bought them anyway.
I began by using wood filler to fill in the cigarette marks and the holes from where I removed the hardware. 

Once dried I gave the nightstands and drawers a good sanding. I then wiped down all the surfaces with a damp cloth to remove all the dust.

I then sprayed all of the drawers and nightstands with Rustoleum's spray paint primer. 


I let it dry for a couple of hours and followed with two coats of spray paint in Rustoleum's Heirloom White. Quick tip: If you are painting furniture that is down on the ground you have to get down there with it. There will be spots which you may not see if you are standing above but you will if you are sitting on the floor. 


After they dried I took a step back and decided to add another coat. I generally spray two coats but it looked a little splotchy so another coat was needed. Another tip when spray painting is to move the can back and forth across the surface in an even steady pace. If you rest too long in one spot the paint will drip and puddle. After allowing it to dry thoroughly I finished with a top coat of clear glossy paint. It took two days and here is how they look now.

It's important to allow paint to cure or harden so after painting I do not touch them for several days. It may feel dry to the touch but it you pick it up, you will leave behind fingerprints. My next step is to add the hardware. When I repaired the top I also filled in the holes on the drawers because I thought about replacing the handles with something more contemporary. I'm starting to second guess this decision because there are six handles per nightstand so if I keep the same holes I would need 12 new handles.That would cost as much as the nightstands. I also thought about using one handle per drawer but that might take away from some of the character. I've haven't decided what to do yet but stay tuned to find out.  

Friday, October 5, 2012

Roxie's Friday Quote 10.5.12

Step with care and great tact, and remember that Life's a Great Balancing Act
-Dr. Seuss


Thursday, October 4, 2012

Thriftstore Thursday 10.4.12

My thrift store finds. The only problem with buying pieces from a thrift store is that it is difficult to find a pair of anything. This means that your assortment of one of a kind pieces can easily end up looking like junk. One way to fix this is to spray paint several pieces all the same color and create a grouping. I bought several ceramic vases in different sizes for $1 to $2 a piece. To unify them I painted them all white or ivory and created a vignette.


This was a pink water pitcher I found for about $6. Not just pink, but shocking, bright, Pepto Bismol pink. A quick spray of white paint and it went from shocking to stylish.  

 
These brassy metal bowls were a couple of bucks a piece.   
I really wanted silver so I changed them up with a coat of silver metallic spray paint. Quick tip: Not all metallic spray paints are equal. Some are just sparkly gray paint and others look more like metal.
I tried a few brands and colors and the one that was brightest and shiniest was Rustoleum's Bright Coat Metallic spray paint in Chrome.  

This table has a glass vase, brass bowl and wooden tray all of which I spray painted to give it a new look. The lesson is if something isn't exactly as you want it, change it.
I chose to paint everything white or silver because I want to change the color palette in my living room. Right now everything is shades of rust and brown which is fitting for the season, but I am ready to go in a different direction with something cooler. 

Monday, October 1, 2012

Touches of Fall for the House

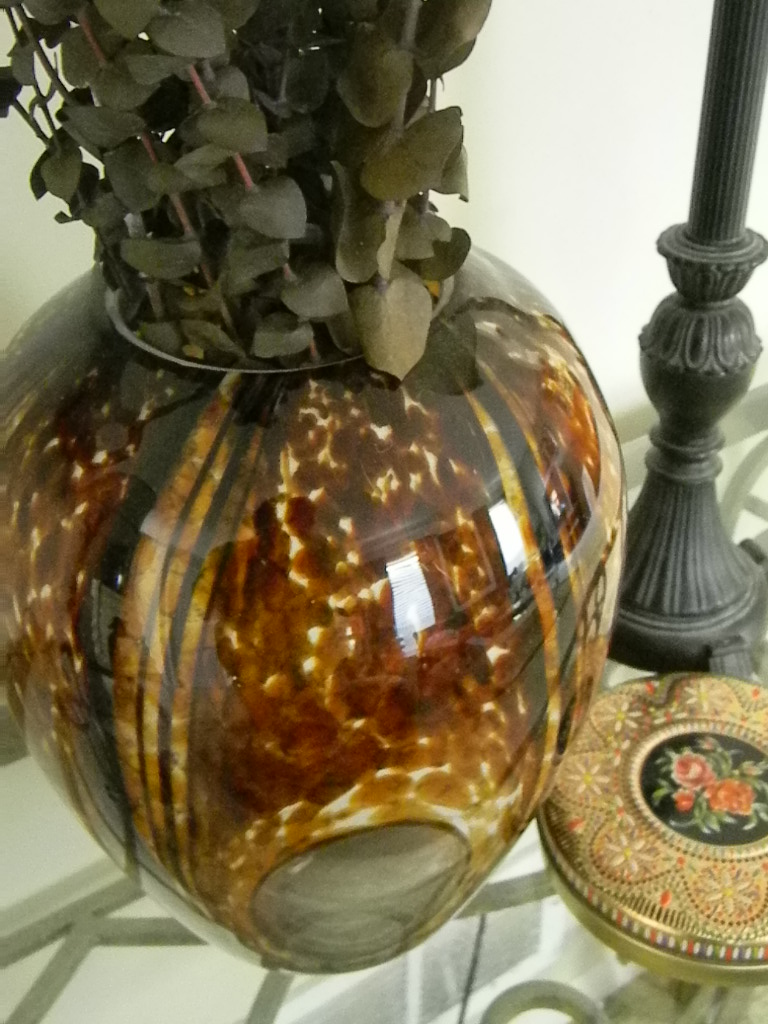
Now that fall is officially here it's time to add a few warm touches around the house. No need to break the bank. Take a trip to the dollar store, outside to the yard or certainly to craft stores and you will find plenty to inspire you. Hobby Lobby, Michael's and JoAnn's Fabrics are always having sales. I've had this beautiful tortoise shell vase for years. I just added a few packages of Eucalyptus stems that I picked up at the local dollar store for, of course $1 a piece, and it's an instant update for my console. 

I also swapped out my crystal candlesticks for these beautiful amber colored ceramic holders. I love the curvy shape, the detailing and how they gleam. Wooden or rustic style candle holders would be a nice touch too. I may have to bring the crystal back out for Christmas. I love the shimmer glass brings.  
 
 
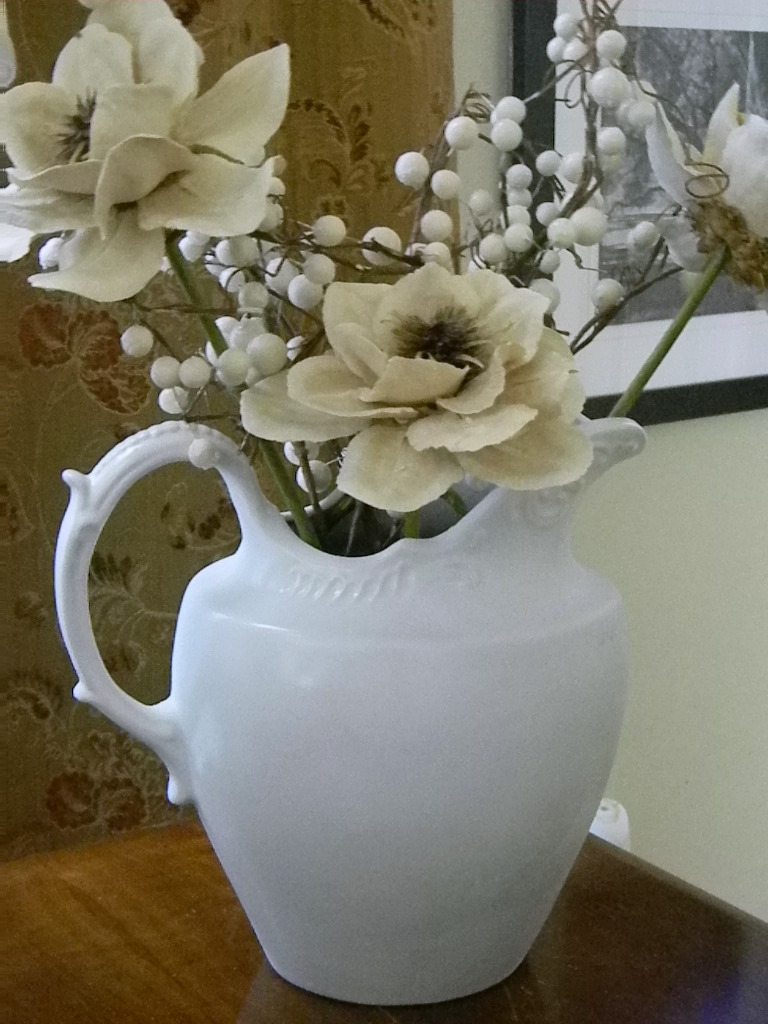
Add baskets and vases with assorted flowers in warm shades of red, rust,  purple and orange. There are a wide variety of Mums out now which I believe is the official flower of fall. I chose to add to the buffet a grouping of pumpkins and gourds next to the candle holders.
This basket is from a fruit and cheese gift basket sent to a co-worker last Christmas. He was going to toss the basket so I offered to take it off his hands. You can always use a new basket and I knew this one would come in handy. 

You can even swap out mirrors. I had this lovely round filigree mirror near my front door that several months ago I painted silver....
......and I replaced it with a warmer wood mirror.
 
Now that I've changed my table tops, I think I need new pillows. Time to shop for fabric to update the sofa.

Friday, September 28, 2012

Roxie's Friday Quote 9.28.12

Every great dream begins with a dreamer. Always remember, you have within you the strength, the patience, and the passion to reach for the stars to change the world.
- Harriet Tubman

 
Have a great weekend.

Pretty Patterns: Chevron

It's that time ya'll. The kids are on the corner waiting for the school bus, leaves are turning all shades of brown, orange and burgundy, and every grocery store as far as the eye can see is stocked with bags and bags of candy. That's right, Halloween is on it's way and people are beginning to decorate their homes with pumpkins, ghosts and ghouls. If that is not your speed you can still get the spirit in your house (no pun intended) by adding color and pattern reminiscent of Halloween like Chevron.
 
This strong, graphic, zigzag pattern reminds me of carved pumpkins especially when it's used on an orange pillow or vase. If you want to warm up your home and have a little fun without going totally Halloween consider Chevron. You don't need to invest in big pieces, just add a few throw pillows to the sofa  or toss a chevron shawl across a chair. In a rich shade of russet or dramatic black and white, it's a great way to get the feel of fall and Halloween without breaking the bank. Here are a few pieces that might inspire you. 


1. Amazon.com
2. Overstock.com
3. Overstock.com
4. Lamps Plus
5. Fabric.com
6. Amazon.com
7. Z Gallerie
8. Fabric.com
9. Lamps Plus
10. Fabric.com

Let the holiday season begin.

Monday, September 24, 2012

Painted tray

I love the look of painted trays almost as much as I like woven baskets. They are the coolest way to keep things neat and organized and add a bit of style to boot. They are fun to use on a table or ottoman and are great to hold bills or papers on a desk. They come in a multitude of colors, shapes, sizes and styles but if you are into making things your own you can find a plain one at a thrift or discount store that you can then paint or embellish to suit your own personal style. 

I found this tray tucked way in the back on the bottom shelf at my local Homegoods store. It was a bit beat up but for $7 I didn't care. All of the scratches would be covered up anyway with a couple coats of spray paint. I've painted a tray before a bright red but this time I wanted to go a bit more neutral so I could use it in multiple rooms. 


This was a very simple project, but to start I roughed up the surface a bit with a piece of sandpaper so that it would accept the primer. I followed with a couple of coats of Rustoleum's Painters Choice spray paint in Dark Gray.  


 I decided I wanted the inside to be ivory so I taped of the top edges and along the handle side so that the ivory paint would not seep through. I wanted the inside of the handle to be ivory so that you could see it from the outside of the tray and it would look like an accent. I followed up with a couple of coats of gloss top coat to protect it.


Here is the final tray.


BLOG DESIGN © 2012 SMITTEN BLOG DESIGNS/ CONTENT © 2012 MY HOME IN THE HEIGHTS